This April, I wanted to try my hand at teaching. So, I reached out to my local library and luckily they gave me a chance. I’ve made so many charcuterie boards before but never taught a class, and guess what I loved every minute of it.
I loved showing attendees new techniques and food products that they’ve never tried before. It was a great reminder that everyone is on different levels of experience when it comes to cooking. Something that comes with ease for me, was something foreign to someone else. I’m glad I had a few moments of ah-ha from folks; and truly felt guests had some actionable takeaways.
I’d love to do it all over again. I’ve now been bitten by the teaching bug... And with that mindset of learning, I wanted to share some of the products and techniques I used in class.
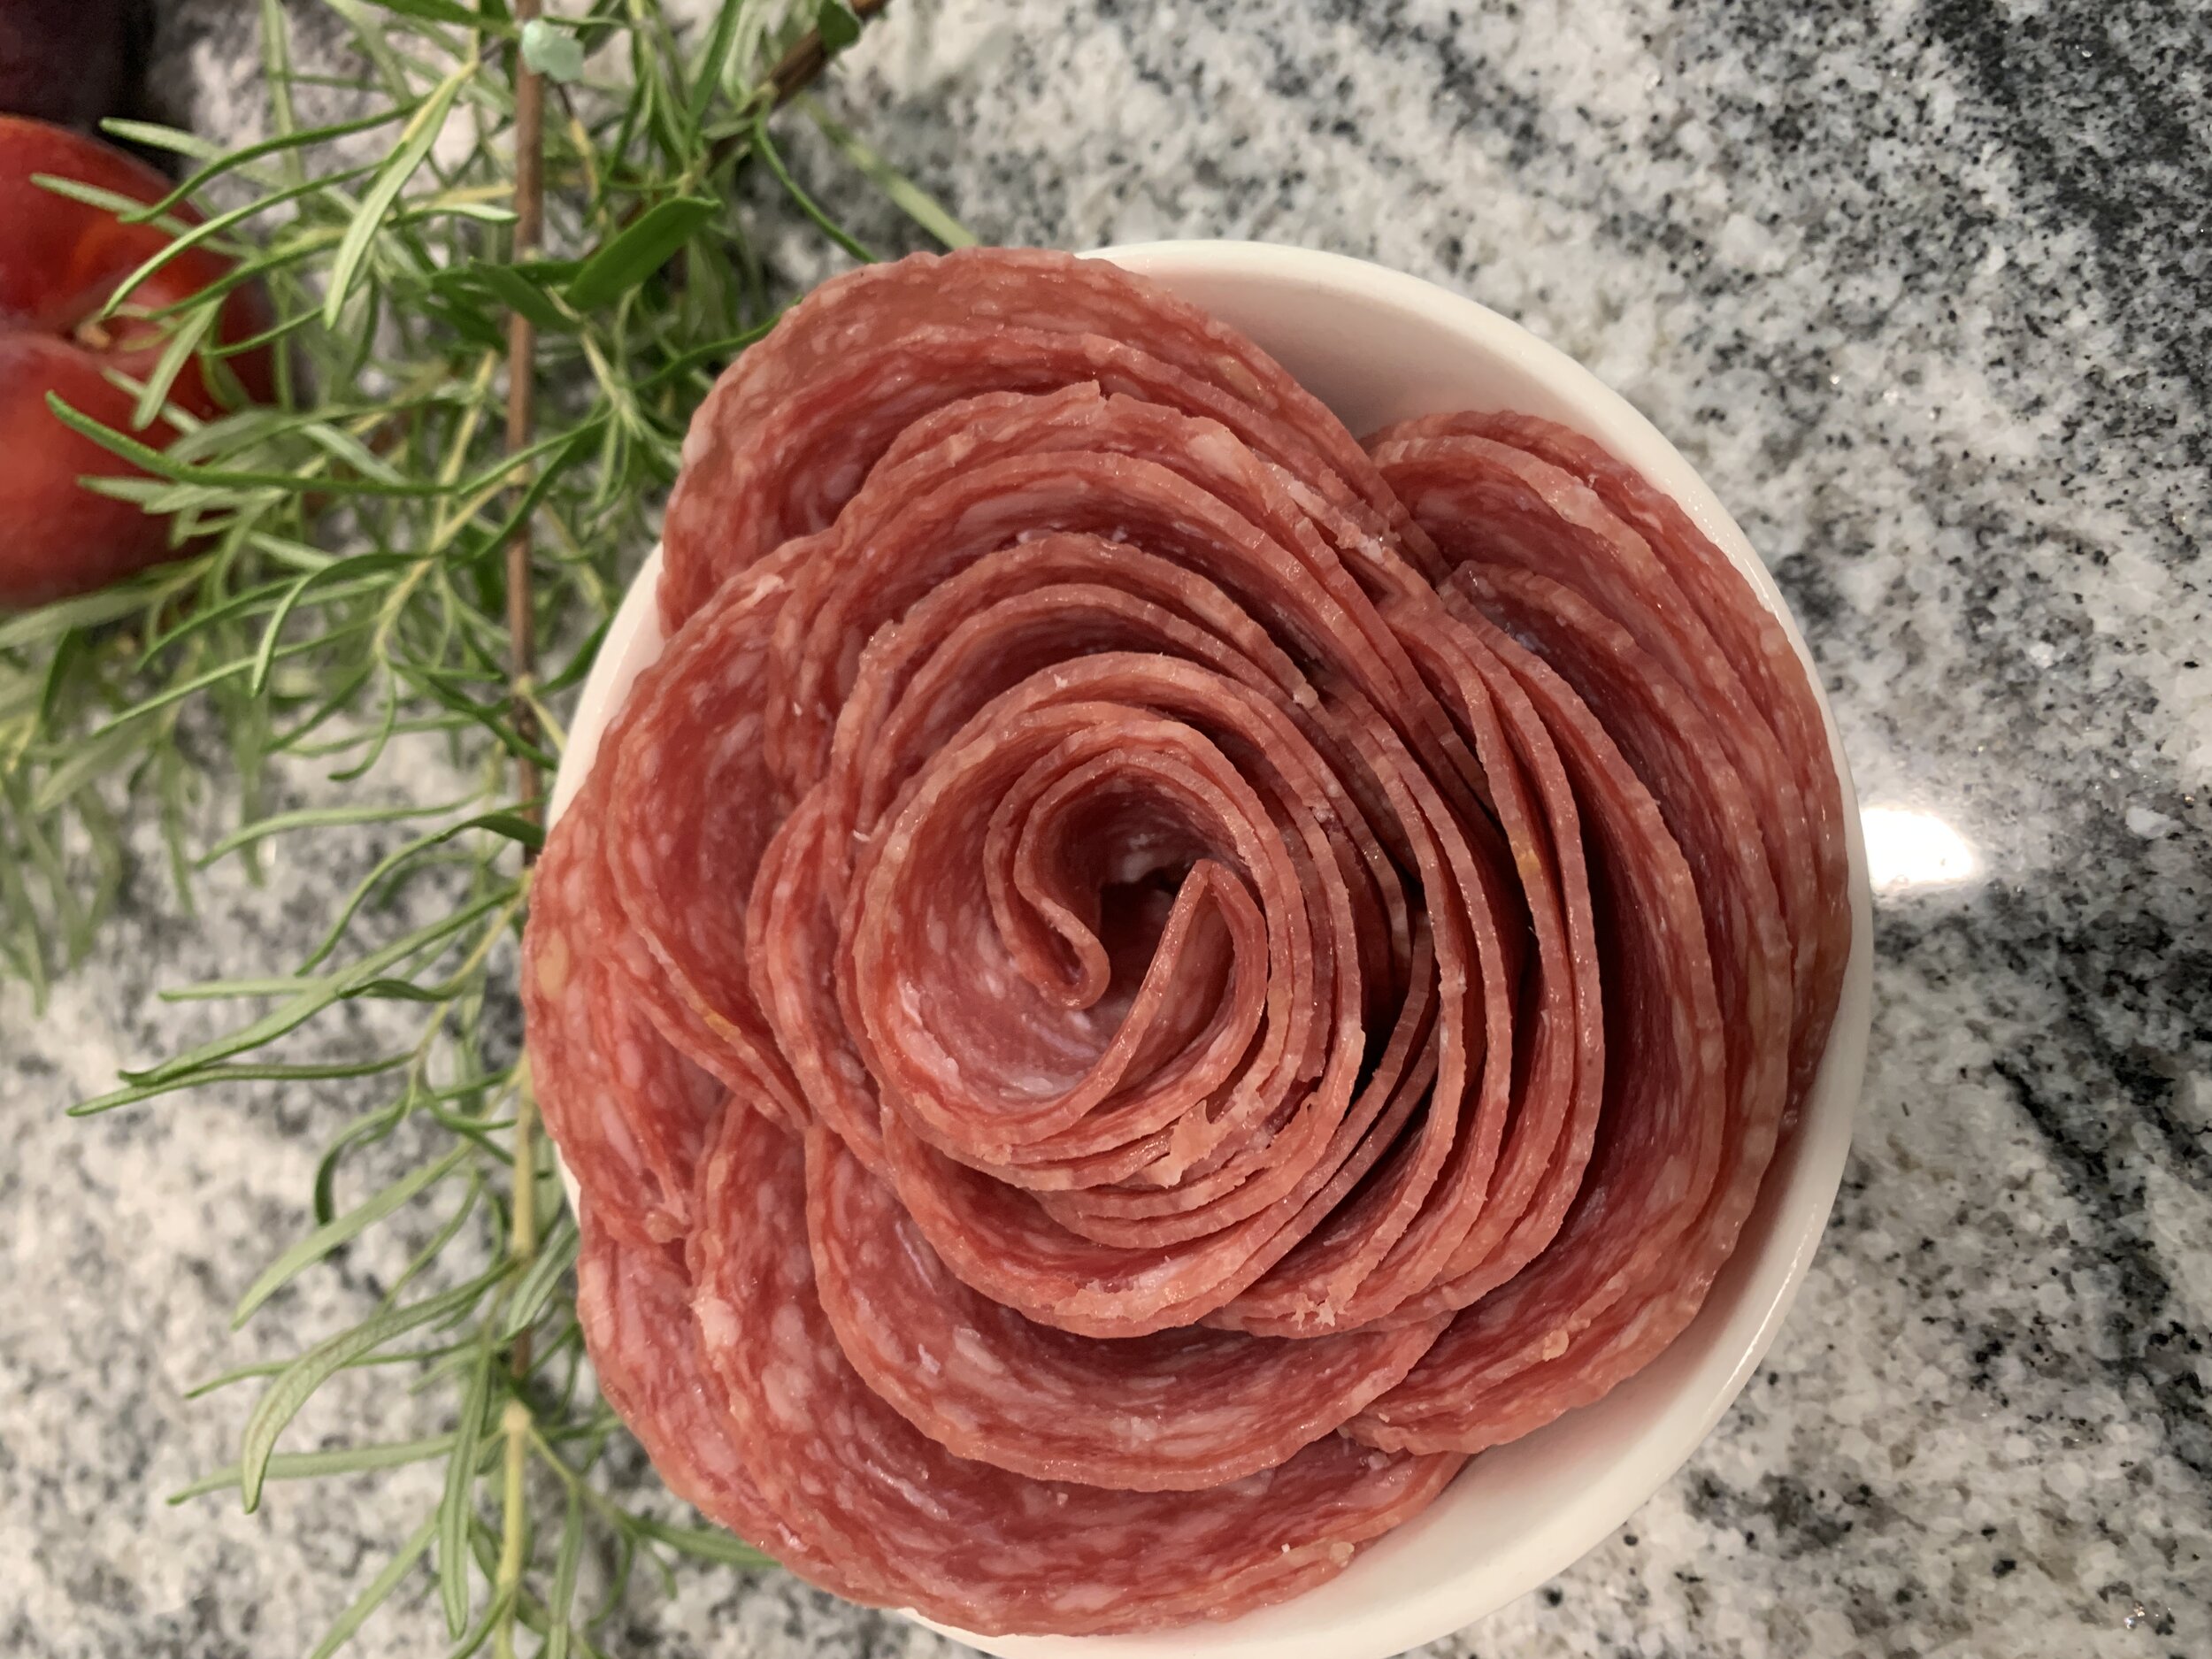
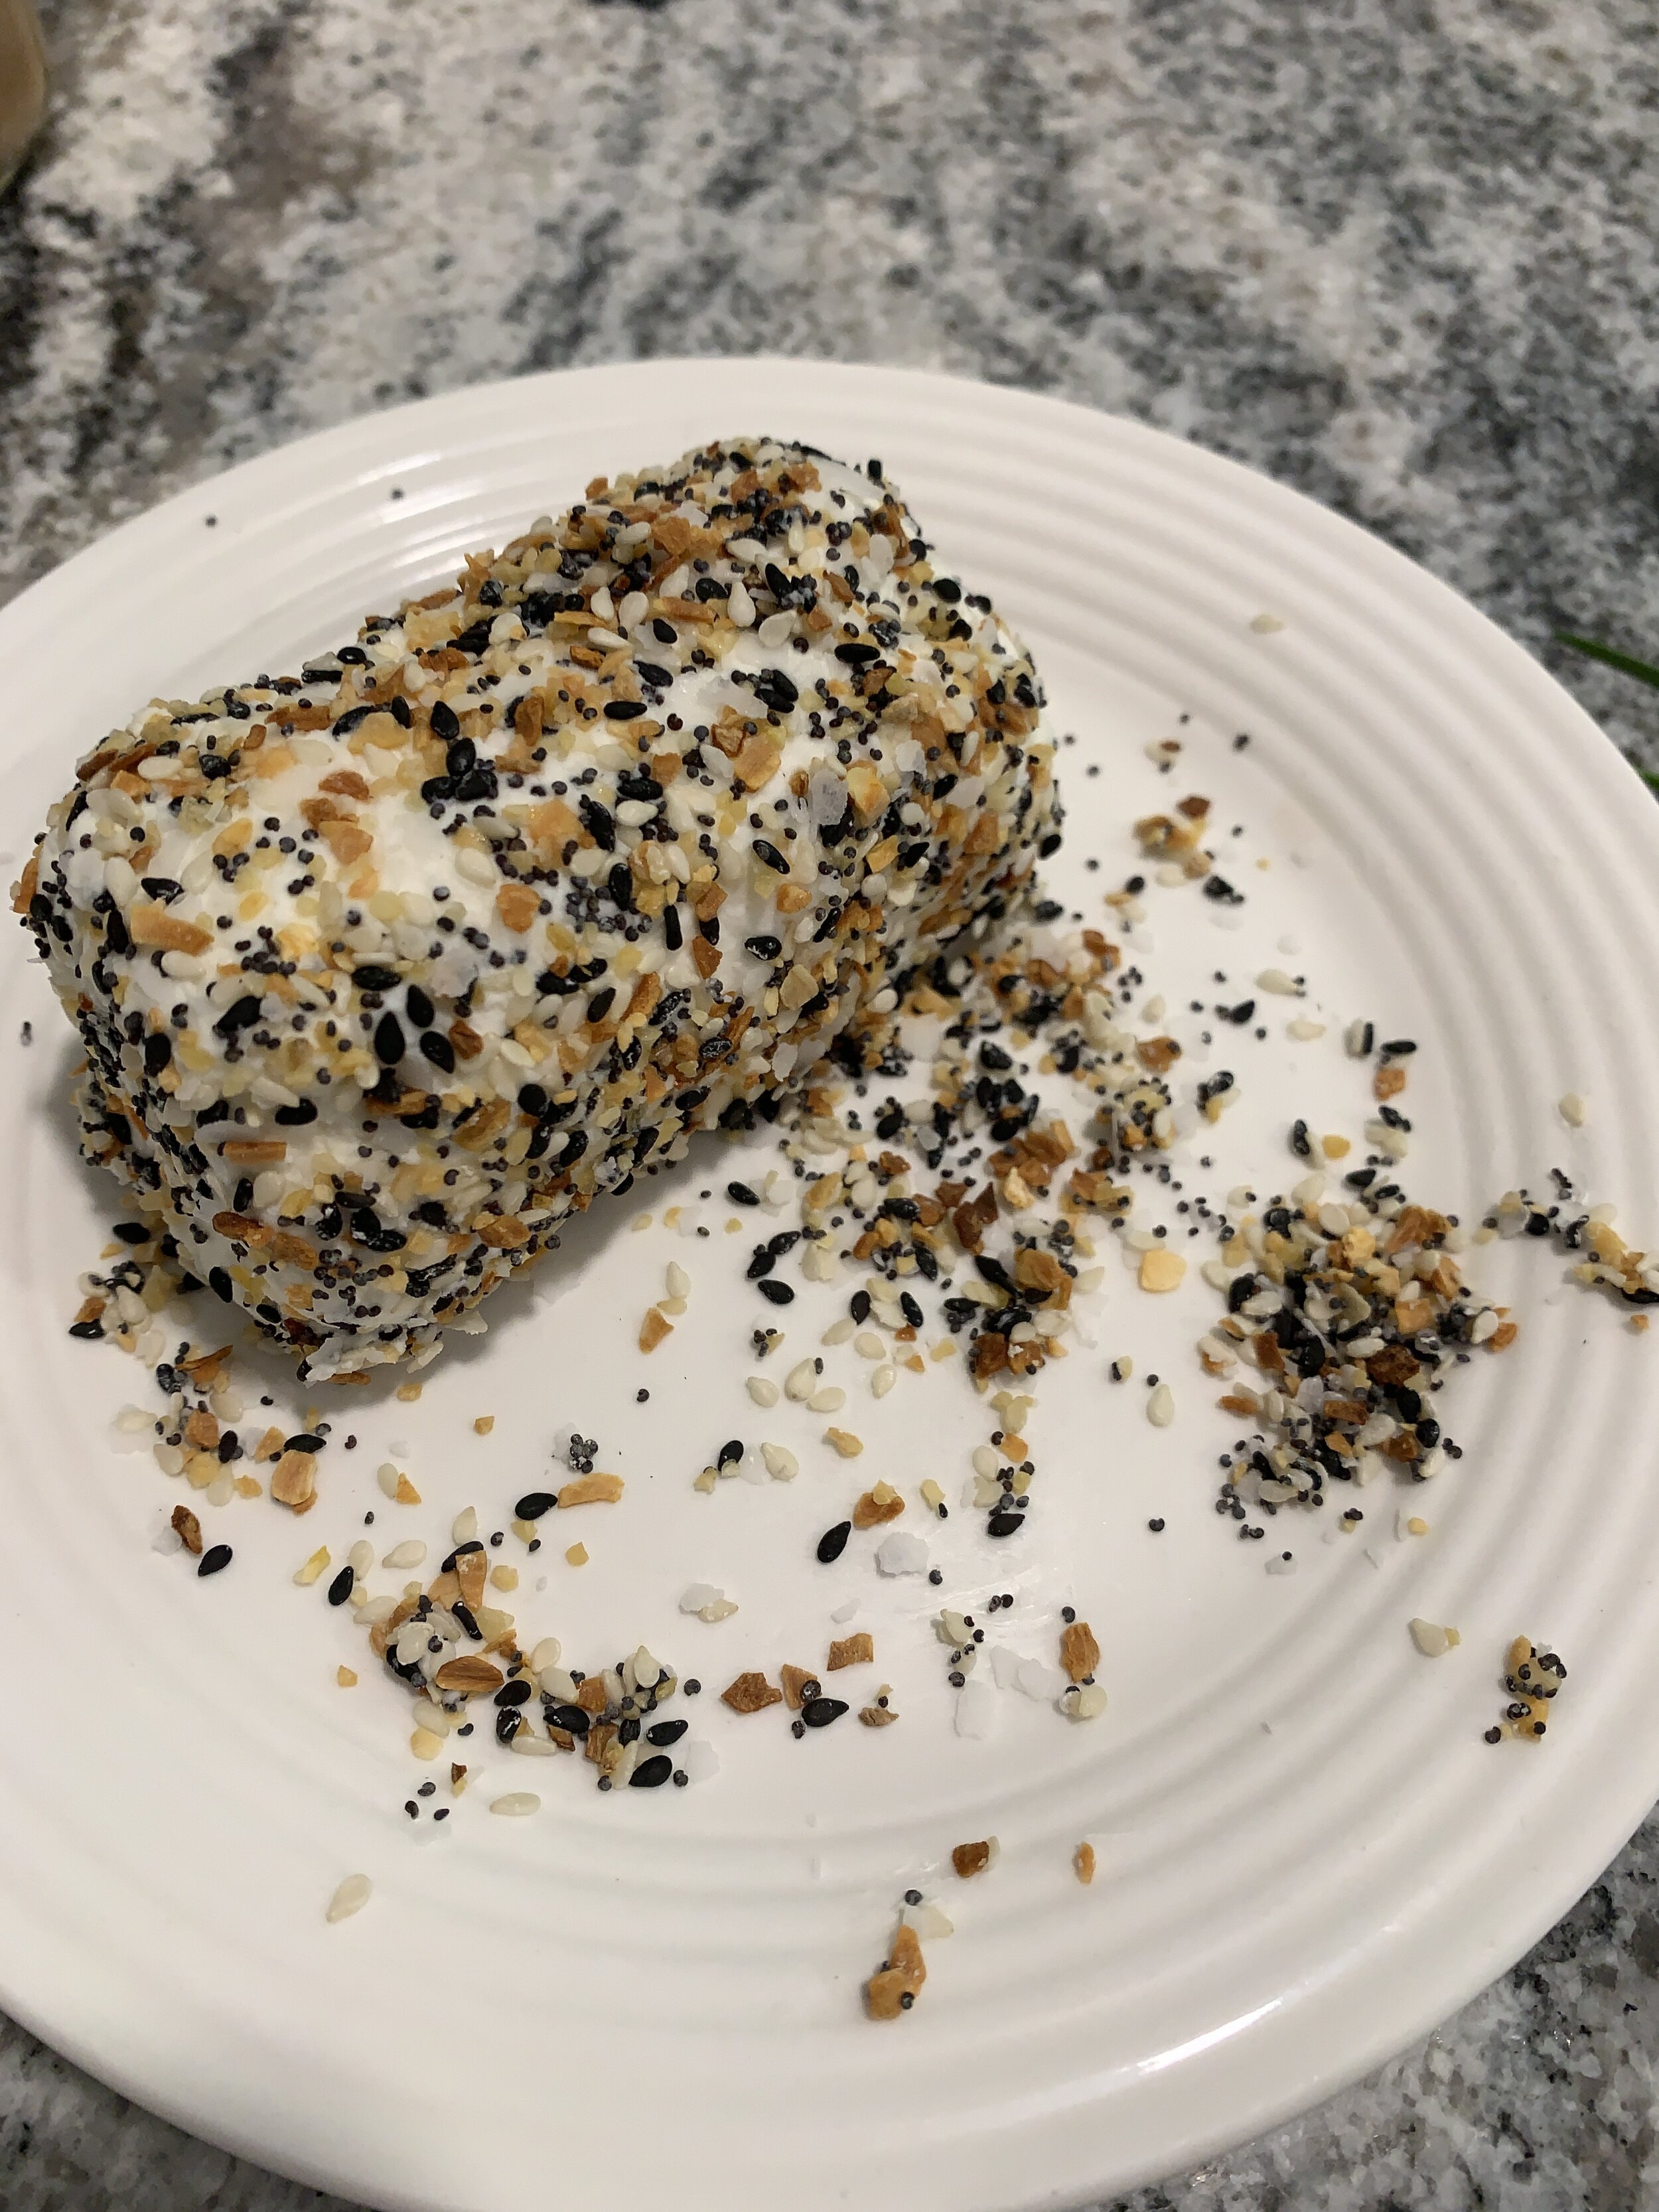
In the workshop, I taught basic techniques including how to make a salami rose and river, the “star” cut fruit technique, an herby goat cheese tutorial, and how to build and elevate our board with bright fresh flavors and colors for any occasion.
Fun Facts: Charcuterie is just a fancy word for cured meat. The word derives from French origins in the 15th century, when people used every last bit of the meat and left nothing to waste. The meat was then put through a preservation process of curing and often formed into some sort of sausage or dry-aged meat.
Crackers:
I did a variety of crackers and some fresh toasted baguette on the side.
Since it was a spring board I did buy these butterfly crackers from Pepperidge Farms. If there’s anything you should know about me it’s that I need to match a theme.
Cheeses:
Purchased the following cheeses from Costco which had the best selection and bang for your buck, especially if you’re hosting a large party.
Triple Cream Brie from President (Cut into small triangles and fanned these out in a circle)
Cabot Cheddar, Ages 3 Years (Broke the block of cheese apart for a rough rustic cheese display)
Manchego (Styled into triangles)
Goat Cheese:
Taught two different techniques here. Where you can roll the goat cheese into balls and take a Ziplock bag of Everything Bagel Seasoning and roll them in the seasoning to coat.
Another option is chopping fresh herbs (basil, rosemary, parsley) and putting the fresh cut herbs in a Ziplock bag and coating the goat cheese balls in the herbs. It’s a great way to start to use your spring and summer herb garden.
Meats:
Variety of Salami & Prosciutto from Fratelli Beretta at Costco (1 package was enough for the group, and it came in a two pack).
Techniques I taught in class: How to make a salami river, a salami rose, and how to style your prosciutto on the board.
Fruits:
Strawberries - As a special treat I used: (Oishii Berries) Grown in the world's first and largest indoor vertical strawberry farm.
Raspberries
Blackberries
Grapes
Extras:
Honey Sesame Almonds from Trader Joe’s
Pink & White Shortbread cookies from Trade Joe’s
Dried Apricots
Boards I Have:
Walmart (Better Homes & Gardens), here's the link. I've gotten boards at Target, and I love and have one from Brooklyn Slate.
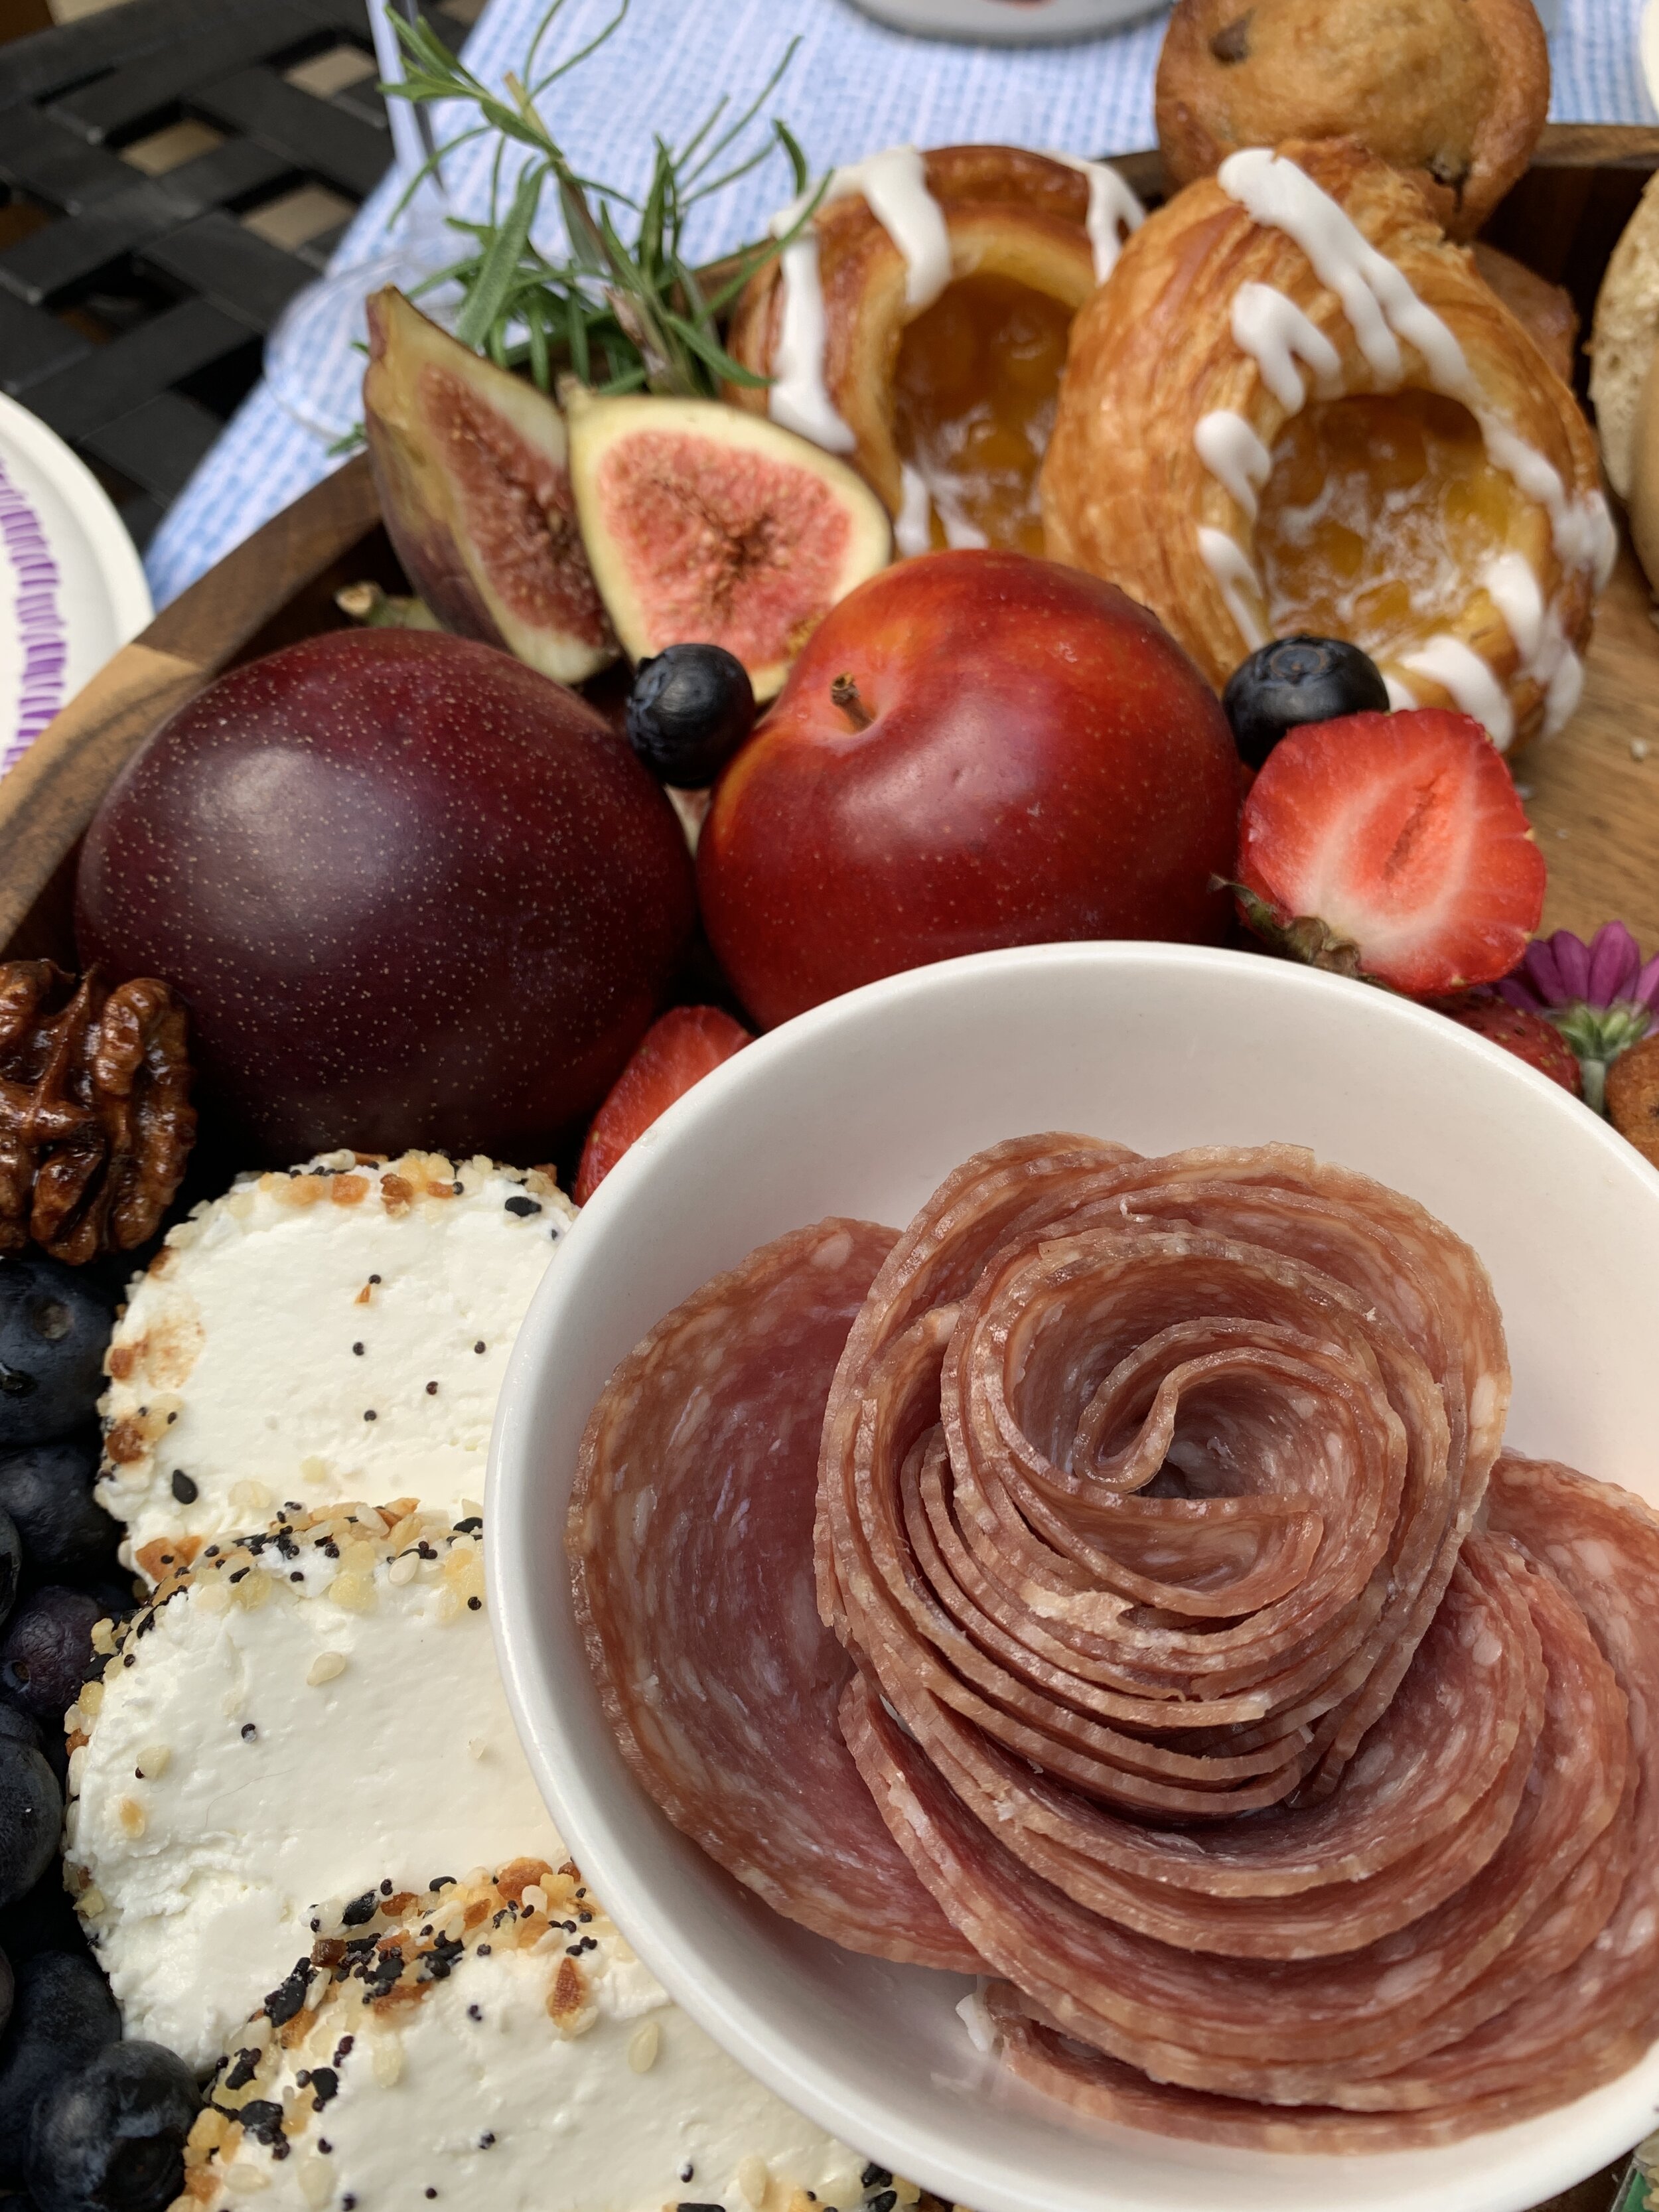
Here was the final board! Truly loved teaching this class and the group was so fun.
If you do have charcuterie board workshop needed in the Hudson Valley, NY, definitely let me know! 😉


